The Testplan Limits Editor application allows users to modify and create new Limit Sets (Min/Max) for existing Testplans (ObjClass=RiTestplan) using a table format that supports copy/paste and CSV export/import. This guide provides an overview of the Guru application's features and instructions on how to use them. The Testplan must be successfully compiled before being Saved to avoid misalignment of sweeps and potential data logging errors.
*IMPORTANT: This application will not allow "Save As" with a new Title to preserve Cassini application saving rules. Use the Cassini application to change the Title name when saving to create a new Testplan before editing it's limits.
Testplan Limit Editor User Interface
Use the menu actions to open Testplans and manipulate the Limits in the tabbed table(s) below. (See Figure 1) Each Testplan appears as a tab above the table of named results. Each Test Name appears alphabetically. Override the Test Name with a Custom Name and assign a unique Test Number. Data Scale and Offet overrides can also be applied. Each named limit appears as a _min and _max value column to the right of the Test Name.
To Launch Testplan Limits Editor:
- Choose Logon to Guru and choose Apps > Testplan Limits Editor from the list.
Tip: Start typing "Te..." to filter the apps to a shorter list.
To Edit Testplan Limits:
- Choose File > Open to display a list of Testplans sorted chronological order by the most recently saved first. (ri.sys.CreationDate)
- Type to filter the list values in any column and/or click on column headers to sort the list of available Testplans. Change Show only for system to the local Guru ID to to show testplans saved locally.
- Select the Testplan and choose open.
- Modify the values in the <NAME>_min and/or <NAME>_max columns to adjust limits to match the target values. Use Copy/Paste features or Export/Import CSV features to change more than one value at a time.
- Choose Check Validity from the View or right mouse button menu to confirm values before saving.
IMPORTANT: This feature only checks for syntax errors and DOES NOT VALIDATE LIMITS. - Choose File > Save Testplan to save the changes back to Guru. (*SAVE AS is not allowed)
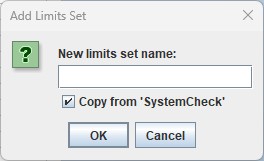
- Choose Add Limit Set from the right mouse button menu from any named limit column, ignoring any selected value(s).
- Type a unique New limit set name: value.
- To copy the currently selected limit, leave the Copy from '<Name>' option selected, otherwise un-check this option to create a new limit set with empty values.
- Choose OK to create a new set of limits.
To Remove a Limit Set:
- Choose Remove Limit Set from the right mouse button menu from any named limit column, ignoring any selected value(s).
- Confirm by choosing Yes or choose No to cancel.
To Modify Limits via CSV Export/Import:
- Choose File > Export CSV from the currently selected Testplan tab.
- Choose a location from the Save In pull down menu and enter a File Name (default value is <TestplanName>.csv) and choose Save.
- Open the .CSV in an external spreadsheet application and make any necessary changes, preserving the formatting.
IMPORTANT: Only replace existing values and DO NOT ADD/REMOVE columns or rows. (See To Add/Remove Limit above...) - Choose File > Import CSV and select the file
Figure 1: Testplan Limits Editor User Interface
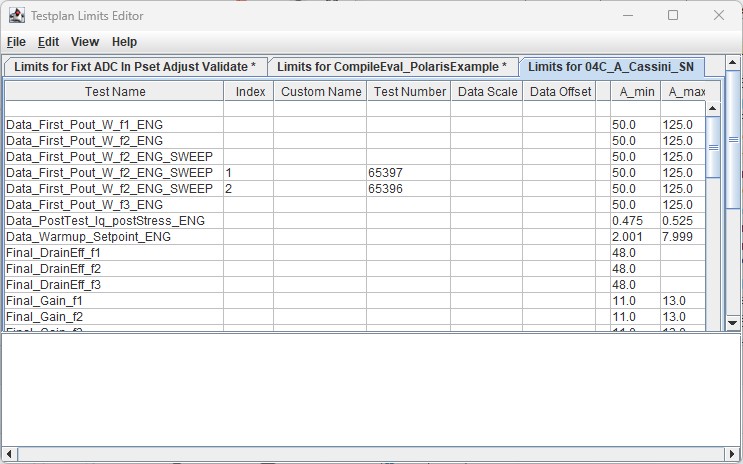
Figure 2: Choose Testplan Limits
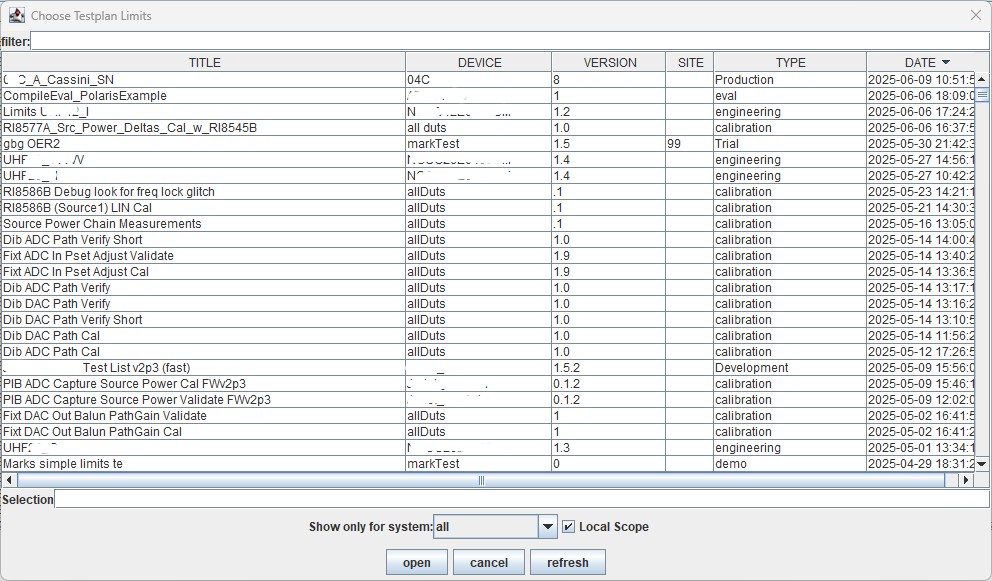
Figure 3: Add Limits Set